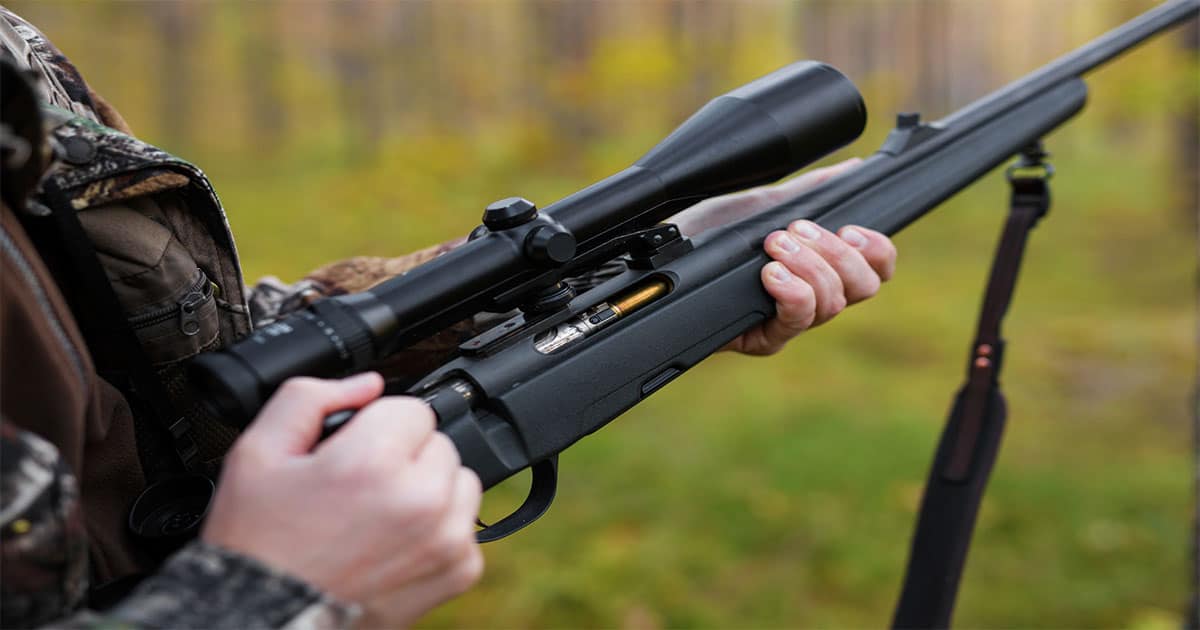
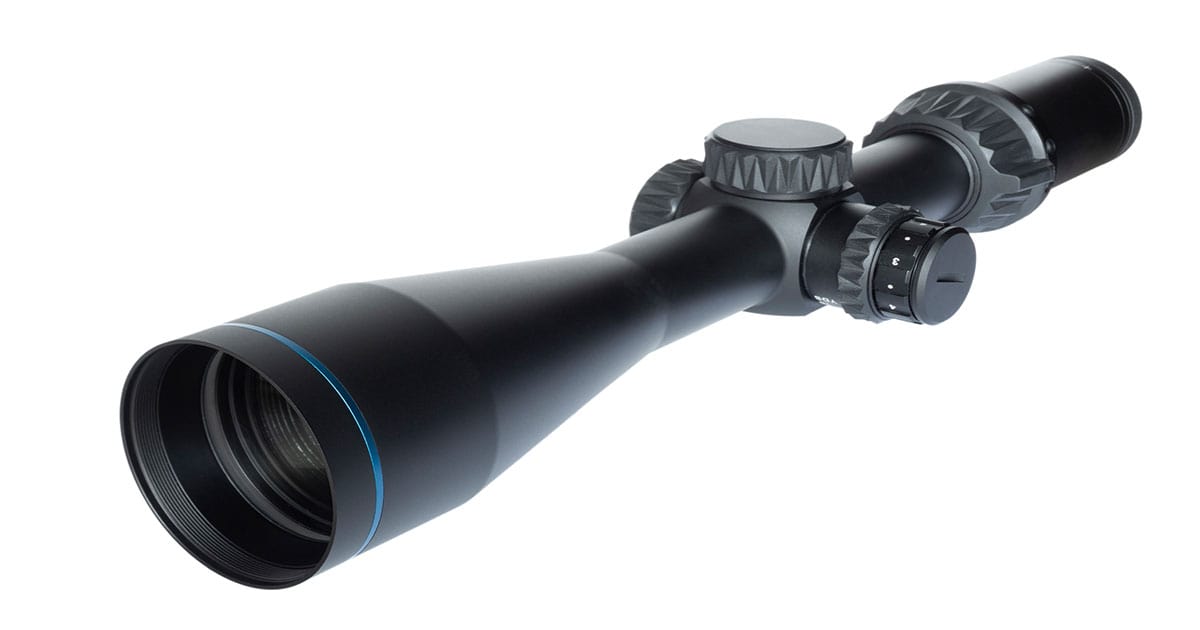
Red dot sights have transformed shooting, not only in the competition arena but also for personal protection. Regardless of how a shooter plans on using their red dot sight, the first question they have is, “how do I zero a red dot sight?” Keep reading for how to accomplish this critical first step.

What is “zero?”
An authentic zero results in an identical point of aim and point of impact. For example, if you aim your red dot on the center “x,” your bullet should impact the center “x.” This same principle is used to zero any sighting system, although the red dot can be more precise.
Your red dot will not be appropriately zeroed when you first install it. Many factors affect the point of aim vs. point of impact, including windage, elevation, how it is mounted to the firearms, and the size of the dot itself. Zeroing the red dot involves making the necessary adjustments to ensure the point of aim and point of impact are as close to identical as possible.
Remember that although a perfect scenario involves an identical point of aim and point of impact, this is not always the outcome. For example, while the precision shooter may continue the process until both are identical other shooters may be satisfied with a slight but predictable difference. For example, a hunter may find a 1 or 2 Minute Angler (MOA) difference at maximum range. Although this difference could be between 1st and 3rd place in completion, it is rarely the difference between harvesting an animal or missing your shot.
Understanding MOA
MOA, or Minute of Angle, is how shooters measure distance on a target. The most common use is when calculating the difference between the point of aim and the point of impact. Minute refers to 1/60th of a degree, or the change needed to move the point of impact 1 inch when the target is 100 yards away.
When you zero your red dot at a specific distance, 50 yards, you will see the point of impact change as the distance to the target increases or decreases. This is the result of bullet drop. The red dot is still zeroed at 50 yards.
How Does Sighting the Red Dot Work?
Red dot sights are similar to any other sighting system in that they show the shooter the intended point of aim. If zeroed correctly, this will also indicate the desired point of impact. The significant difference is this information is visualized.
An iron sight or traditional scope requires lining up a mechanically fixed point on the firearm with the desired point of impact. The shooter can hit the desired point of impact through proper sight alinement and sight picture.
Red dot sights use a colored dot projected onto a small screen. When aligned with the target, that colored dot will indicate the point of aim and desired point of impact. The difference is a red dot sight does not require sight alinement and sight picture. If the shooter can see the red dot on the screen and where it is placed on the target, they can identify where the shot will hit. Even if the colored dot is not centered in the viewing area, it will still identify the point of impact.
Red Dot Scope vs. Red Dot Sight
Red dot scopes and red dot sights are often confused. While they are very similar, there are significant differences. Both incorporate the use of a colored dot, usually red, which is visible to the shooter. However, scopes typically include additional features such as magnification. This requires red dot scopes to be larger, heavier, and better suited for long guns or larger handguns.
Although red dot sights generally do not provide magnification, their smaller size makes them better suited for handguns. Because they are less complex, red dot sights are well suited for situations requiring fast, accurate shooting, including competition or self-defense.
How Do Red Dot Reticles Adjust?
Although specific adjustments and how they are used vary by manufacturer and model, most red dot sights allow for three adjustments.
Windage allows the shooter to move the point of impact left or right. Adjustments are made by turning a small dial or screw. Adjustments are measured in clicks, with one click equaling either 1 MOA or a fraction of an MOA. Your user manual will explain the correlation between clicks and MOA and in which direction each click will move the point of impact.
Elevation allows the shooter to move the point of impact up or down. Adjustments are made by turning a small dial or screw. Adjustments are measured in clicks, with one click equaling either 1 MOA or a fraction of an MOA. Your user manual will explain the correlation between clicks and MOA and in which direction each click will move the point of impact.
Brightness refers to how bright the colored dot is when seen by the shooter. Adjusting this setting will make the dot appear brighter, more prominent, dimmer, and smaller. The smaller dot generally allows for increased accuracy and blocks less of the shooter’s visibility. Some models also allow the shooter to change the dot’s color, usually from red to green. This change can be helpful if shooting in different lighting conditions or against a background where one color may be more visible.

How to Zero a Red Dot Sight
A red dot sight is zero, just like any other sighting system.
First, fire 1-3 well-aimed shots on target from a steady position. If the shots were well aimed and fired using the principles of good marksmanship, they would be grouped close together. Although this group may not be exactly where you were aiming, it will identify your point of impact.
Next, you determine how far your shot group is left/right and up/down from the center. A zeroing target is marked with 1-inch squares; this can be done by counting the number of blocks between the group and center lines. For example, four blocks left and two blocks above center.
Now you convert the distances previously identified to MOA. For this example, each block is 1 MOA, so that it would convert to 4 MOA left and 2 MOA up.
By referring to your red dot sight’s manual, you can determine which direction changes to windage and elevation adjustments will move the point of aim. You can also determine how many clicks of adjustment will move the point of aim 1 MOA. For this example, one click on either adjustment will equal 1/2 MOA, a right click will move the sight right/up, and a left click will move the sight left/down.
By applying eight clicks right and four clicks left, you should now have a point of aim equal to the point of impact.
Check the zero by repeating and making any minor adjustments if necessary.
What Distance Should You Zero Your Red Dot Sight At?
The rule of thumb is to zero your red dot sight at either 10 or 15 yards. This makes computing the MOA and related adjustments more manageable and helps ensure that your zeroing groups are accurate, well-placed shots.
Once the sight is zeroed at this closer range you can move to a further distance, typically 25 yards, and confirm your zero. In many cases, the bullet drop will be minimal, and although the point of impact may not be dead center, it will be less than 1 MOA from the center. For general shooting or self-defense, this is acceptable.
How to Save Ammunition Zeroing.
Although a red dot sight can be zeroed without the aid of special tools and independently of other sighting systems, it is liable to be more complicated. It could also require far more ammunition.
When you first install a red dot sight, you cannot know where the point of impact may be. It could be dead on, a couple of inches off in either direction and may be entirely off the paper. Depending on the difference between the point of aim and the point of impact, you could be guessing where to start when making adjustments. Each time adjustments are made another group is shot, and, if necessary, further adjustments are made.
But there is an easier way. Using either a bore sight or the installed iron sights can significantly reduce the time and ammunition needed to zero a red dot.
Bore sighting involves placing a laser device in the bore. The device shines a laser onto the target, which the shooter can see. The red dot sight’s color dot is adjusted to overlap the laser point. In theory, the red dot will now be zeroed, although minor adjustments are often still needed.
Matching iron sights are similar to bore sighting but somewhat less precise. In this instance, you will adjust the red dot sight’s color dot to rest on top of the firearm’s front sight. Like with the bore sight, this should result in zeroing the red dot sight. Again, it is not unusual for minor adjustments to still be required.
November 2, 2022